
Overalls are a casual alternative to the dress or the classic shirt-pant combo. Our pattern jumpsuit Canan is sleeveless and convinces with a casual width. The elastic in the waist ensures that the jumpsuit fits properly and gives it its feminine shape. Combined with high shoes and a high quality fabric, the jumpsuit also fits perfectly into the evening wardrobe.
Length of side seam from seam = 104 cm (sits slightly lower than waist)
Canan was sewn from a light viscose in this tutorial.
Material needed:
We recommend a soft flowing fabric such as viscose, silk, jersey or a wool georgette.
Sizes 34-38
- Outer fabric 2.40 m (140 cm wide)
- elastic tape 0.80 m (1 cm wide)
Sizes 40-44
- Top fabric 3.00 m (140 cm wide)
- elastic tape 0.90 m (1 cm wide)
Sizes 46-50
- Outer fabric 3.40 m (140 cm wide)
- elastic tape 1.10 m (1 cm wide)
Sizes 34-50
- Knob 1 piece (7 mm diameter)
- interlining 0.70 m (90 cm wide)
- Fixing tape 0.90 m (12 mm wide)
In advance for you as info:
Cut:
Cut the pattern pieces from your fabric. Lay the selvages parallel to the center so you can place pattern pieces at fabric fold . The pattern pieces should all lie with the lettering facing up. Always align the threadline arrow in the same direction for all pieces and parallel to the selvage edge of the fabric. Transfer all the snips from the pattern by making a 3mm incision with scissors or chalk and mark the ends of the bust dart. Clip the seam allowance at the fabric break, as this is always a center. All outer fabric pieces that will be completely covered with interlining are best cut roughly first. After you have fixed the interlining , cut them out exactly. Here is also a video about gluing and fixing of Cut pieces.
If you want to make your Canan from corduroy, then note that corduroy is cut against the grain. We have a video for you.
If you want to make your Canan out of plaid:
Dagmar shows you the best way to cut plaid in this video.


You need fabric:
- 1x front part in fabric fold
- 2x back part, opposite
- 1x strip for eyelets
- 2x pocket bag, opposite
- 2x front trousers, opposite
- 2x back pant, opposite
- 1x drawstring front in fabric fold
- 1x drawstring back in the fabric fold

Rough cut
also with interlining:
- 1x VT-facing in the fabric fold
- 2x RT-facing, opposite

Fine blank
also with interlining tape:
- 1x neckline front part facing
- 2x neckline back part facing
Sewing instructions:
To make this jumpsuit you will need a sewing machine and an overlock sewing machine, alternatively use the zig-zag stitch on your sewing machine to neaten the edges. Use a jersey needle or a fine sewing needle (70 gauge) to match your fabric choice. In addition to the description, the coloured lines on the pictures show you where to sew a seam. When sewing, pay attention to the seam allowance included in the pattern. Seam allowances that are not specially marked are 1cm wide!
Have fun sewing!

It's best to start with the bust dart. on the the, .

Sew the back pieces right sides together up to the notch (for the slit). Individually serge the seam allowance below the notch and press the seam allowances apart.
Here is a video about the processing of the eyelet.

Tuck the eyelet and sew it to the seam allowance between the notches on the back piece. It should be the appropriate size for the button.

Finish the binding on the edges marked in orange.

Curl the distance from the clip to the center back to 8cm. To do this, sew with a large stitch at 0.7cm and at just over 1cm from the cut selvage . Then grab the loose ends of both seams and push the fabric together to the specified length. Proceed in this manner for all other ruffles of the overalls. There is also a video for this.

Sew the backfacing to the neckline and the slit of the back. At the ruffled part, sew between the two seams of the ruffle. After sewing the bottom seam that you sewed for the ruffle, separate it again with the facing . This also applies to all other ruffles.

Now the slit and the back neckline are stowed. The eyelet for the button now points outward.


Now crimp the neckline of the front piece according to the same principle.

Pull the threads until the indicated length is reached.

Stitch the neckline from the front piece as you did for the back piece, separate the bottom ruffle seam again, and topstitch the seam allowance flat at facing to just before the shoulder.

Finish the side seams of the front and back pieces and sew the pieces right sides together at the side seam with 1.5cm seam allowance. Press the seam allowances apart. Sew the side seams of the facings together in the same way.

Now pin the armholes with the facing. Pay attention to the notches and overlap the side seams to fit.

Cut back and space the seam allowance at the armhole. This way, the facing will lay down more nicely after turning over.

Again, topstitch the seam allowance flat to the facing and press the armhole.

Now the shoulder still has to be joined together. To do this, put the strap of the front piece into the opening of the back strap.

Reach between facing and front piece and pull out the strap. Close the shoulder seam with 1cm. The top is finished so far and we turn to the pants.

Finish the side seam, inseam, inside leg seam and the pocket bag all around. Place the pocket bag with the right side on the right side of the trouser parts. Topstitch the pocket opening between the notches with 1.5cm seam allowance.

Place the front trousers on the back pant and the pocket bag on top of each other. Sew the side seam above and below the pocket opening together and close the pocket bag.

This is how the pocket opening looks from the outside. Do the same with the second pocket opening. Press pocket bag to the front trousers and fix it to the seam allowance of the front trousers. The side seams are ironed apart.

Close the inside leg seam with 1.5cm seam allowance (marked in orange), turn the trouser legs right side out, and then sew the front and back back seams right sides together.

Now take the top again and crimp the front and back at the hem between the notches as before. Match the width of the top to the width of the trousers.

Sew the trousers and the top together right sides together with a 1cm seam allowance. Pay attention to the position of the side seams and the centre front and centre back using the notches.

Sew the drawstring right sides together at the side seams. It is best to mark the drawstring for the front with chalk on the left side to avoid confusion.

Fold the top over the trousers so that you can reach the dividing seam. Sew the top edge of the tunnel to the seam allowance of the dividing seam. Before you do this, you can press the bottom edge of the tunnel 1cm.

Fold the drawstring over the seam allowance onto the pants (trim the seam allowance back a bit if necessary). Topstitch the drawstring close to the edge onto the pants, leaving a small gap for the elastic to be pulled in.
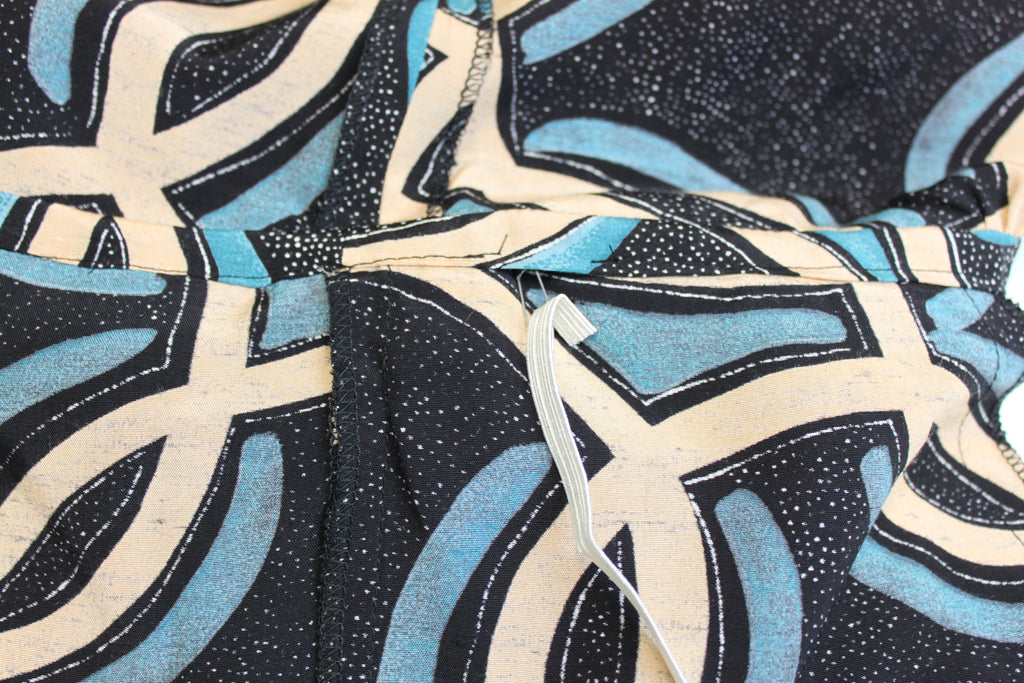
Pull the elastic tape through the drawstring with the help of a safety pin. It is best to try on the overall and then determine the length of the elastic and also the correct leg length for hemming. After trying on, sew the elastic ends over each other and close the gap in the drawstring.

Press the hem 2x 2cm and topstitch it.

Finally, sew a button to match your eyelet on the top.
Your CANAN is ready!
If you get stuck, or if you have any questions, please contact us by email at info@schnittmuster-berlin.de. We will answer you as soon as possible.
Have lots of fun with your new designer piece!
Sincerely yours Schnittmuster-Berlin Team.


